Wednesday, April 22, 2015

Strawberry Preserves/Jam


Strawberries are in full bloom now a days. You'd find red, plump, juicy, sweet and sour strawberries in abundance during Spring/Summer and they certainly are a lovely treat, not just for the eyes but for the palate too, Subhan'Allah (Glory to be Allah) 

When strawberries are in season, we try to make the full use of them by making, shakes, smoothies, frozen yogurt, ice-cream, cakes, muffins or by adding them into different desserts and most importantly, by making strawberry preserves/jam of this luscious fruit :D Believe me, these beauties just get you hooked on them. Another secret; just dunk some strawberries into Nutella and devour! there you go, you've got a snack fix there but try to keep the calories in check :P

When I was living in The K.S.A as a kid, we didn't use to get strawberries in a large quantity there but they were imported from the U.S and Canada in small punnets and were then sold as a fancy delicacy just like Pakistani Mangoes. (lets be honest, no comparison in between the 2! and that reminds me, the mango season is approaching, yipee! :D) My Dad used to get those beauties for us and we were then a bunch of delighted kids, happily gobbling them down and giggling :) Good old days; childhood sure is a perfect time of one's life. You're too eager to grow up but once you've grown up, you keep on reminiscing the old times... Such a dilemma! Oh well that's life :)
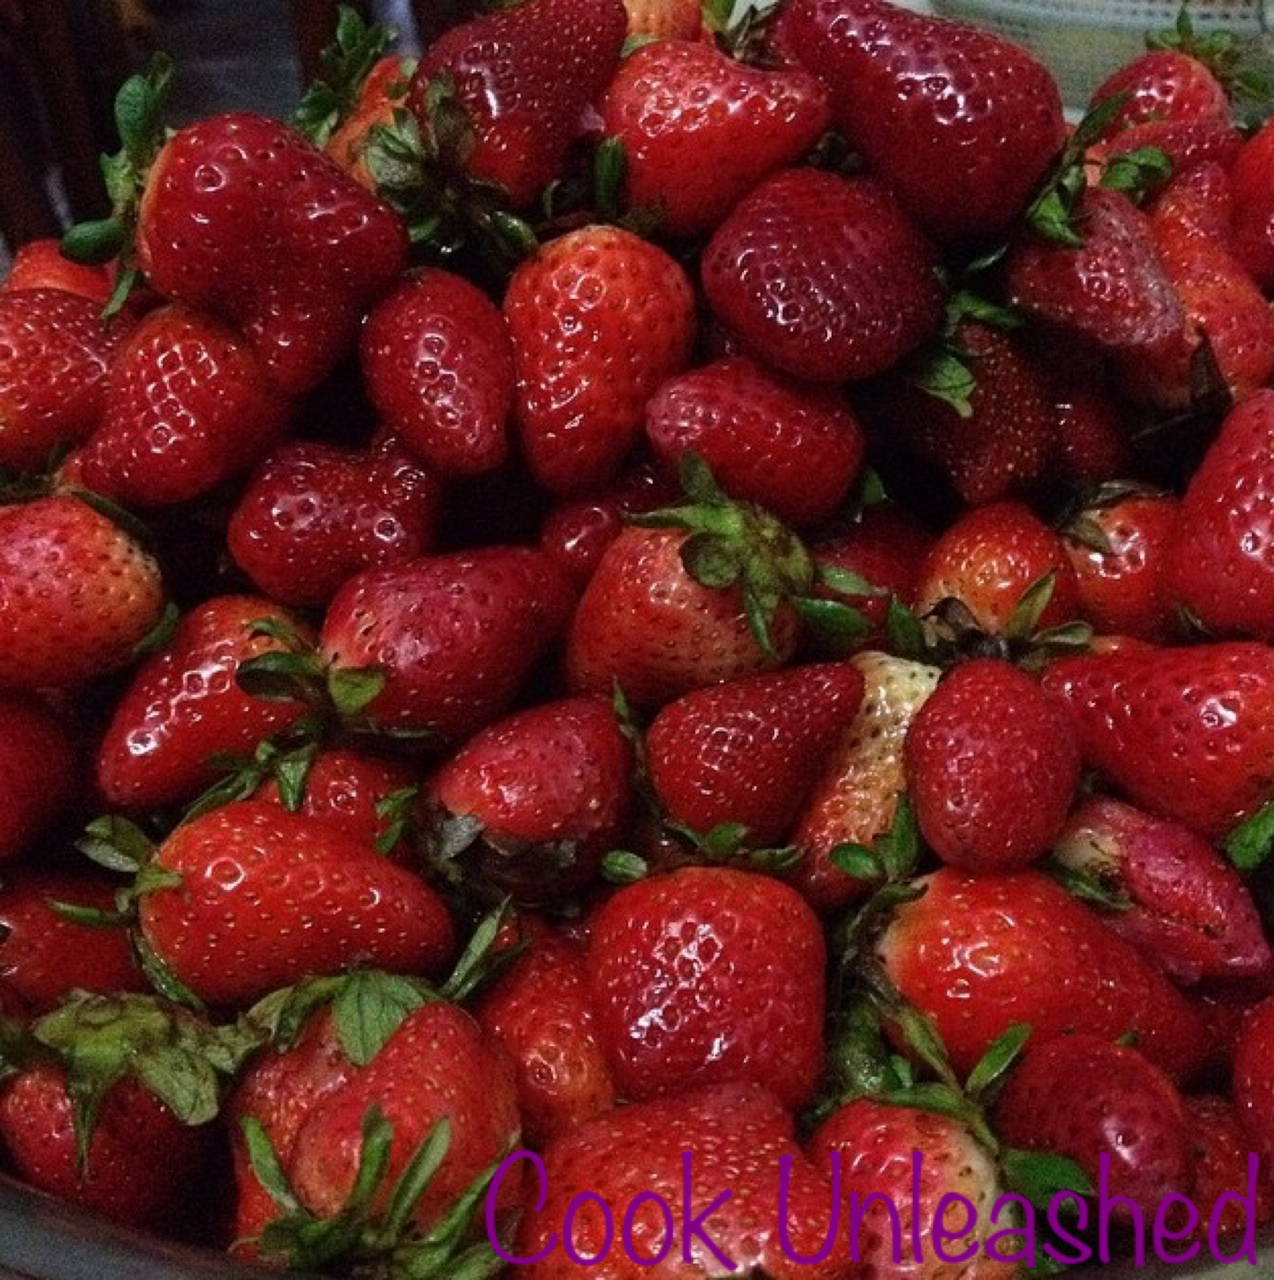

Edible Jewels 


Getting back to the strawberries, upon moving to the country a couple of years back we came across this lovely surprise that not only strawberries are grown and harvested in Pakistan now but are so flavorsome as well. One of our family friends took us for strawberry picking at their farm and it was such a delightful experience; we came back happy and with the bags full of these lovely little gems :)

We've always bought commercial made jams but for the past couple of years this has become a common practice at our household to make preserves/jams at home. Apple jam, Orange/Kinnow marmalade, Strawberry preserves/jam, Peach jam, Apricot Jam and Mango jam are the flavors that are made at mine with the fruits in their respective season. I started sharing my recipe blog posts almost 2 months back and by that time, we've had already made apple jam and orange marmalade but I certainly will do posts on them in future, In Sha Allah.

Homemade jams/preserves are way better than the commercially available ones; free from any artificial flavorings, coloring, preservatives and are a bit guilt free as well since you know that real fruit is being used in making them. Sugar can be replaced with the sugar-substitutes for those of you who go for more healthier alternatives like stevia. Once you start making jams at home, there is no looking back! You will never get back to buying them from the stores unless you are too lazy to try making them at home :P can assure you, you will never regret this attempt ever!

Lets get some jam making unleashed in our kitchens today, shall we? :D


Strawberry Preserves/Jam

Ingredients:

Fresh Strawberries: 2 kg/4.4 lbs (washed and hulled)
Sugar: 8 cups/2 kg/4.4 lbs (increase or decrease the amount according to the tartness/sweetness of the fruit)
Lemon Juice: 4 tbsp
Nutmeg Powder: 1/4 tsp (optional but the addition enhances the flavors)
Mason/Glass Jars: 2 (sterilized and can yield up to 1000 gms)

Method:
  1. Put the washed and hulled strawberries into a heavy based non-reactive pot along with the sugar and mix. 
  2. Leave the strawberries for a couple of hours to release their juice upon mixing with the sugar. Best to refrigerate overnight for better results.
  3. Later, cook over medium flame till the sugar syrup is formed with the juices.
  4. A layer of froth will appear over the top while preserves/jam is cooking. Remove it gently with the help of a slotted spoon every now and then to get the clear jam.
  5. Add nutmeg powder, if using. Keep stirring while cooking and do not leave it unattended.
  6. Once the sugar syrup starts thickening a bit and the strawberries turn darker in color and looks cooked, drop a small amount of the jam over a plate (preferably have been kept in the freezer for a while) if the jam gels, add the lemon juice, stir and turn off the flame after 2 minutes. If not then cook more till it starts gelling.
  7. Let it cool down a bit before pouring into the sterilized jars. Seal well and keep at the cool place or keep refrigerated.

    Yields 2 1000 gm jars

Tips:


  1. This type of chunky jam is called preserves but if you want to make it smooth, just blend the prepared preserves with the help of a hand held blender or into the food processor or in a blender jug after adding the lemon juice, cook for further 2 minutes and follow the next steps.
  2. If you wish to make the preserves/jam right away, just put the pot of strawberries and sugar mixed together on a very low flame so that the juices are released before turning the flame to medium and following the next steps.
  3. To sterilize the jars, heat oven to 140C-120C/240F-280/fan or gas 1. Wash the jars in hot, soapy water, then rinse well. Place the jars on a baking sheet and put them in the oven to dry completely. If using jars with the rubber seals, boil the seals, as dry heat damages them.  (Source-BBC Food)
    DO NOT PRESERVE ANYTHING IN AN UN-STERILIZED JARS EVER


Washed and hulled Strawberries
Add sugar


Mix together
Juices will be released

Cook and remove the scum
Cook till thickens
              Do the plate test


Jam is ready!


Pour into the sterilized jars
Enjoy! :D

That's all, Jam lovers! :) The quantity of the ingredients can always be adjusted according to your desire and convenience but do stick to the ratio. I hope you enjoy making and eating it. Until next time, keep sharing the goodness of this greatest blessing, that has been bestowed in abundance upon us the lucky ones, with the less fortunate ones.
Thank you and please remember in your Du'as/prayers! :)

*Not be duplicated, rewritten or published without permission- Thank you! 


Thursday, April 16, 2015

Orange Zarda- Citrusy Sweet Rice


Zarda- Rice cooked with sugar, Ghee (clarified butter), aromatic spices and nuts is a traditional Pakistani/Indian dessert which is commonly served at weddings, religious festivals and celebrations. This rich dessert is said to be a part of Mughal cuisine and Zafraan (saffron) was added in the preparation of this sweet-dish to obtain that Zard (yellow in Urdu and Persian) color. But now-a-days, yellow food coloring is used as an easy and cheaper alternative to get that beautiful, soft yellow hue.

My Dad loves Zarda! It is one of his most favorite and requested desserts but for its richness, my Mom doesn't make it that often. Rest of the family is not that fan of it either but once in a while, we do enjoy having it. Luckily, we all have a sweet tooth therefore, no fussy eaters at ours when it comes to desserts. We love to eat anything sweet (well, that would be an exaggeration but we do love desserts :D)

So, upon my dad's request Zarda is made on some weekend dinner but it is one of the must dishes on our Eid-ul-Adha's (a Muslim religious festival) menu. When my mother makes delicious meat dishes like Gosht ka Pulao (rice cooked in meat stock along with meat pieces) Qourma (rich and aromatic meat curry). Namkeen Gosht (meat cooked in a special way by using minimal spices), Karahi Gosht (a special way of cooking meat curry in a wok) etc when we hold a family dinner at ours and a three days celebration continues by feasting and remembering Allah and the less fortunate ones.

If you are a regular follower of my blog then you would be very much aware of this fact that I always try to experiment with the flavors just to make the same old dishes a little more exciting, interesting and flavorsome. Specially, I love incorporating fruits into any regular desserts or baked goods to turn those ordinary flavors into something more special. Therefore, how could have I not done anything with this traditional Meetha (dessert in Urdu) to give an additional kick to those monotonous flavors? I sure did :D 

I introduced Orange to the rice and they instantly fell in love and the marriage of these two ingredients turned out to be a beautiful success! The aroma arising from this succulent union that was aided by some spices, ghee and nuts exuberated the entire kitchen and excited the senses. Upon indulging into the lusciousness of this marvelous stunner of a dish, the smacking flavors danced to make it more palatable and there we are totally knocked out! 

Enough of the drama, I think! But on a more serious note, you'd definitely love this new kind of Zarda (which will be orange (naraungi in Urdu) in color so will we be calling it Narunga?! confused @) and will surely be making it again and again!

Shall we see how it is made then? Lets get Unleashed Cooks! :D


Orange Zarda- Citrusy Sweet Rice

Ingredients:
Rice: 2 cups (soaked in water for half an hour prior to cooking)
Sugar: 1 1/2 cups
Ghee/Butter/Vegetable Oil: 1/4 cup
Orange Juice: 1/2 cup
Orange Peel: of 1 medium sized orange (thinly sliced) 
Cloves: 6
Green Cardamoms: 6
Yogurt: 2 tbsps
Orange food coloring: 1/4 tsp (Increase/reduce the amount depending on the strength of the food color)
Mixed Nuts and Dry Fruits: 3/4 cup (any of your choice)
Water: for boiling rice

Method:
  1. Take a wide, heavy bottomed pot filled with water enough to boil the rice.
  2. Add orange food coloring, 3 cloves and 3 green cardamoms to this water and bring it to a rolling boil. 
  3. Once the water starts boiling, add the soaked and drained rice to it along with the orange peel and give a gentle stir. Boil the rice till they are 3/4th done
  4. Drain the rice into a sieve and run tap water over them to stop the cooking process by cooling them down completely.
  5. In the same pot, heat ghee/butter/oil and crackle the remaining cloves and green cardamom into it till the aroma is released.
  6. Now add sugar, orange juice and yogurt to the pot and stir for a few seconds.
  7. Once the sugar crystals are dissolved into the liquids and this syrup starts boiling, add the cooked rice to it.
  8. Add some nuts and dry fruit to the rice and mix everything together with a light hand. (I used boiled and peeled almonds and sliced coconut)
  9. Cook till the syrup evaporates by gently mixing the rice a couple of times.
  10. Now lower the heat to the lowest and put the rice on simmer after sprinkling some nuts and dry fruits on top (reserve some for garnishing) and by covering the lid with a tea towel. 
  11. Let it cook for 10-15 minutes or till the rice is cooked completely.
  12. Turn off the flame, remove the lid, fluff the rice gently and dish out.
  13. Garnish with the remaining nuts and dry fruits and serve.


Prepared boiling water 
Soaked Rice

 
Fresh orange peel

3/4th cooked rice


Nuts and Orange Juice
Prepared Syrup

Ready to simmer-cook
Cooked rice


Zerda/Narunga ready to eat. Enjoy! :)

Serves: 6-8
Tips:
  1. For best results, use Basmati long grain rice but Saila rice can be used too. This type of rice needs more soaking time and doesn't break easily while cooking hence, a better choice if cooking in a large quantity.
  2. If fresh orange juice or peel is not available, packaged juice and dried peel can be used instead.
  3. Yogurt is used to prevent the rice from sticking but you can use lemon juice as a substitute too. Just use 1 tsp of juice in the quantity of rice mentioned in this recipe.
  4. A few drops of orange essence can be added too to enhance the aroma of this Zarda.


That's all my dear readers! :) The amount of sugar, ghee/butter/oil and nuts/dryfruits can always be adjusted according to your taste and desire. I hope you enjoy making and having it. Until next time, keep sharing the goodness of this greatest blessing, that has been bestowed in abundance upon us the lucky ones, with the less fortunate ones.
Thank you and please remember in your Du'as/prayers! :)

*Not be duplicated, rewritten or published without permission- Thank you! 


Thursday, April 9, 2015

Orange-Cinnamon Rolls


We all love Cinnamon Rolls, well there is no denying in there. Now, who can resist a soft, fluffy, ooey-gooey, aromatic, fresh-out-of-the-oven roll with a steaming hot cuppa?! Well, not me! Not just for breakfast but I can happily eat it at any time of the day. Its a great breakfast on the go too. A simple yet fancy breakfast that can be prepared night before and then baked in the morning. But if you are short on time, simply bake a batch according to your convenience and warm it up into the microwave oven just before you wish to have it and you're good to go :)

Orange-Cinnamon Roll with Chai 

My introduction to the Cinnamon Rolls is very interesting that I shall share in my post on them in future, In Sha Allah (God Willing). After they became my instant favorite, me being me tried recreating them at home and have been quite successful at the attempt and made them numerous times eversince. But the quest didn't end there as the innovative side of me kept on bugging me to do something different with them and create some extra exciting, equally delicious and flavorsome treat in the name of good-old-Cinnamon Rolls.

Freshly baked Orange-Cinnamon Rolls

I then experimented with the flavors and one of the most succulent flavors I came up with is the combination of oranges and cinnamon. It is a total win-win combo that you can never go wrong with. I tried making them when the oranges were in full bloom but you can easily make them all year round by using packaged orange juice too. Beware, as this is such an addictive treat that surely will get you hooked on it so if you are willing to make it again and again, only then try making this recipe ;) 

Be ready to let some aroma get unleashed in your house! :D


Orange-Cinnamon Rolls

Ingredients:

For the dough

Flour: 3 1/2 - 4 cups (some extra flour for dusting)
Yeast: 1 pack (yields 2 1/4 tsp, active dry yeast or instant)
Egg: 1
Orange Zest: 1 tbsp (grated)
Orange Juice: 1/2 cup
Butter: 2 tbsp (unsalted and softened)
Sugar: 1/4 cup
Salt: 1 tsp
Milk: 1/2 cup (warm)


Filling

Cinnamon Powder: 1 1/2 tbsp (freshly ground)
Granulated Sugar: 1/4 cup
Orange Zest: 1 tsp (grated)
Butter: 1/4 cup (unsalted and softened)

Glaze

Icing Sugar: 3/4 cup (powdered sugar can be used too)
Orange Juice: 2 tbsp
Orange Zest: 1 tsp (grated)
Orange essence: 1/2 tsp (optional)

Method:


  1. First prepare the dough by mixing all the dry ingredients. Reserve 1 cup of flour. 
  2. Let the yeast activate by dissolving it to the warm milk. Skip this step if you are using instant yeast.
  3. Add orange juice, egg, softened butter, all the mixed dry ingredients along with the activated yeast mixture to a mixing bowl.
  4. Beat everything together with a help of a handheld mixer on low speed while scraping down the sides if required. This step can be done with a wooden spoon too.
  5. Now slowly add the rest of the flour until a soft dough is formed. Turn off the mixer.
  6. Knead the dough for a few minutes with the help of your hands by transferring it onto a floured surface. The dough shouldn't be sticky and should be easy to handle. Otherwise add more dry flour to bring it to the desired consistency.
  7. Form it in to a ball and place into a bowl which is lightly greased and cover with a damp tea towel.
  8. Let it rise for a while at a warm place. The time can vary according to the weather but can take minimum of 1 hour.
  9. Prepare filling by mixing the sugar, cinnamon powder and orange zest in a small bowl. Keep aside.
  10. Line a 9x13 inch baking pan with an aluminum foil or parchment paper. You can simply grease an oven-proof glass dish too.
  11. Once the dough doubles in size, take it out onto a floured surface and roll it out evenly with a help of a rolling pin in a large rectangular shape. If you wish to be more accurate, roll it out into a 10x15 inch rectangle. (pic 1)
  12. Spread the softened butter on the rolled out rectangle. (pic 2)
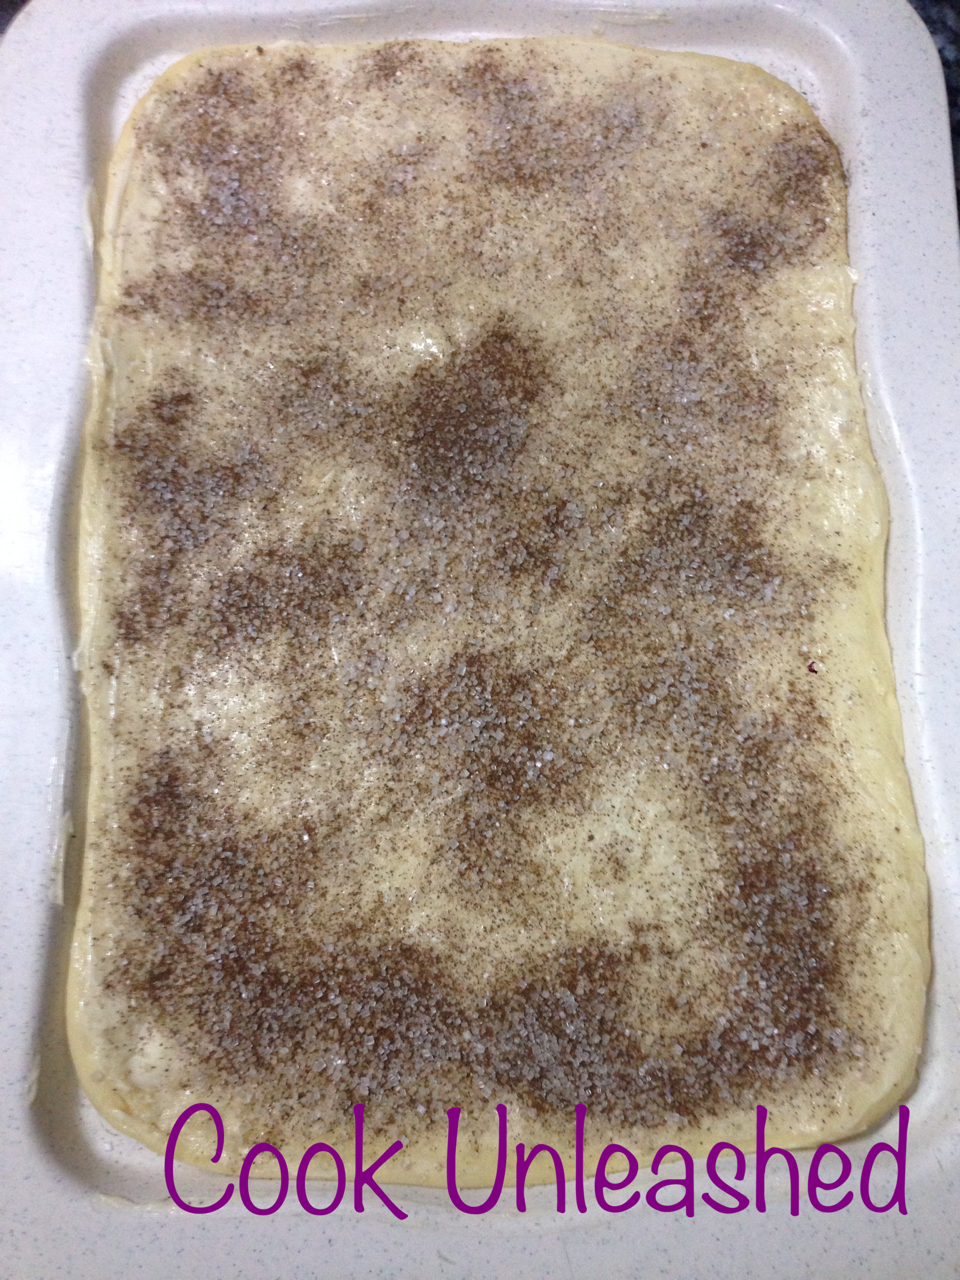
  13. Sprinkle the filling mixture generously all over the buttered dough. (pic 3)
  14. Tightly roll the dough into a large log by starting from one end. Pinch to seal the ends. 
  15. Cut the log into 12 equal sized rolls. First cut in the middle of the log to make 2 logs. Then cut into the mid of the each log to make 4. Repeat the process till you get 12 rolls. (pic 4 and 5)
  16. Now arrange all the prepared rolls in the baking pan. (pic 6)
  17. Cover them and let them rise again for a while by keeping at a warm place. Approx 1-2 hours. (pic 7)
  18. Preheat the oven at 180C/350 F/Gas-mark 4.
  19. Bake the rolls for 25-30 mins or till they are golden in color and cooked through.
  20. Prepare the topping by mixing all the ingredients well.
  21. Let the rolls cool down a bit before drizzling the glaze topping all over them. (pic 8)
  22. Serve warm
Pic 1
Pic 2


Pic 3
Pic 4


Pic 5
Pic 6

Pic 7
Pic 8
Pic 9


Enjoy! :)

Yields 12
Tips
  1. These rolls can be made ahead. Just arrange the sliced rolls in a baking pan and instead of letting them rise, cover them with a cling wrap and refrigerate. Take them out and let them rise at a warm place before you wish to bake them. Baked rolls can stay good for 2 days. 
  2. The prepared rolls can be frozen too but do not drizzle topping over them if you wish to freeze them. Let them thaw in the fridge and warm up in to the microwave at the time of serving and top them up with the glaze.
  3. When oranges are in season, zest them with the help of a zester or a very fine grater and freeze the zest to use in any baking good or dish that requires the use of it.

That's all folks! :) Baking time can always be adjusted according to the type of your ovens. I hope you enjoy making and eating them. Until next time, keep sharing the goodness of this greatest blessing, that has been bestowed in abundance upon us the lucky ones, with the less fortunate ones.
Thank you and please remember in your Du'as/prayers! :)

*Not be duplicated, rewritten or published without permission- Thank you!